This is by far the most fun I’ve had making a cake to date! A friend and coworker of mine is due with her second son in just a few short weeks, so it was only fitting we celebrate the life of this precious baby with a party and cake!
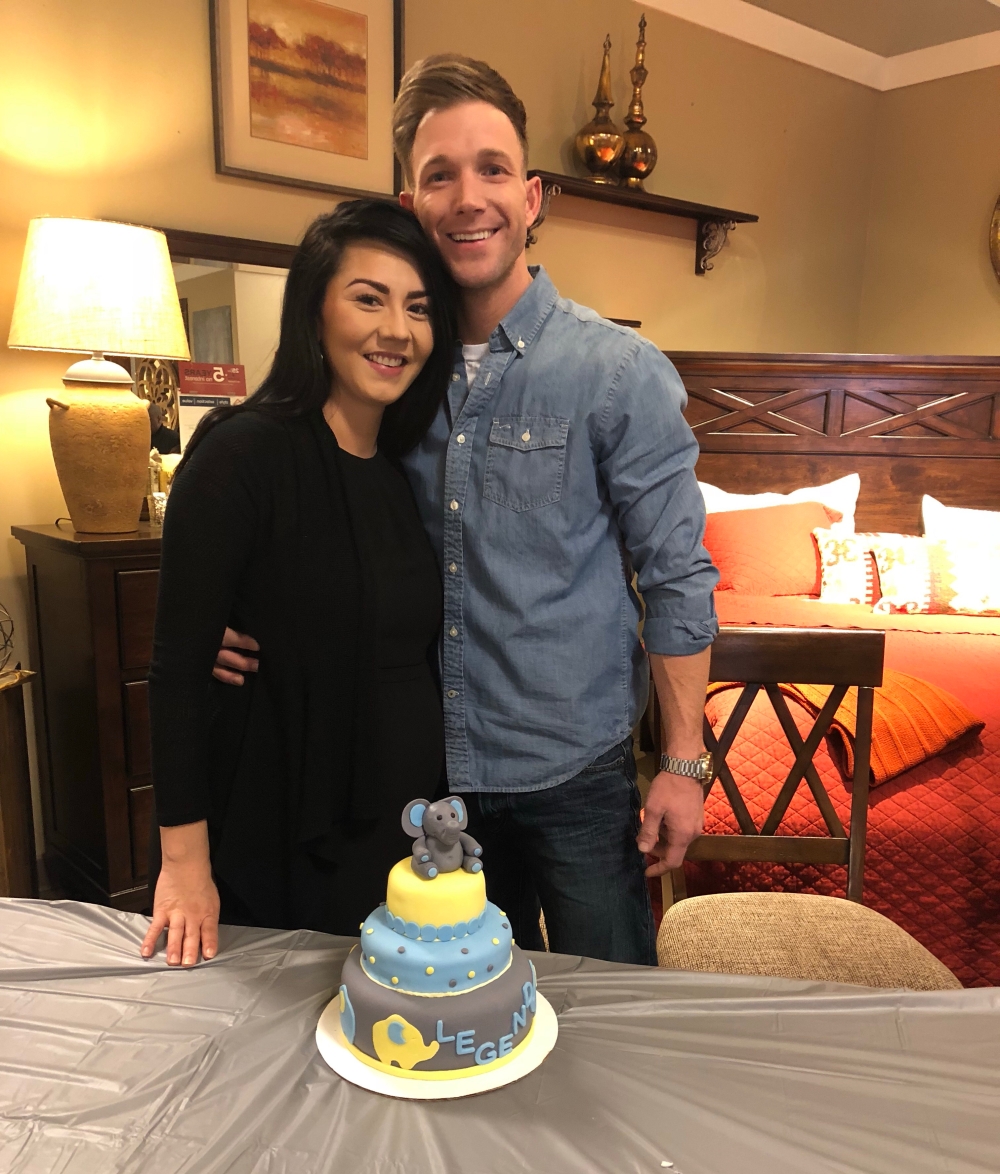
Baby Legend’s nursery is decked out in elephants and a color scheme of yellow, blue and grey, which provided a perfect theme for this cake.
This three tiered cake is strawberry (yes I know it’s pink but mama loves strawberry!), with vanilla buttercream and covered in fondant, topped with an adorable fondant elephant!
The Elephant Topper

It’s important if you are creating fondant sculptures that you make them a day or two before so they can harden, otherwise your sculptures will not stand without drooping. Fondant is a lot like clay! An important tip I learned with this cake is how to stick fondant to fondant. Many recommend just warming the fondant with your fingers to make it a little sticky. I recommend making fondant slip. If you’ve ever used clay you know slip is a mixture of clay and water mixed together to make a thick liquid to use like glue. In this case, I took a small ball of fondant, bigger than a pea but smaller than a grape, and a tablespoon of water. I put this in a microwave safe bowl and heated it in 30 second intervals, stirring in between, until the fondant was completely melted. I then used a decorating brush to brush the fondant slip on pieces to stick them to other pieces.
Unfortunately, I got to into the process of making the elephant I forgot to take pictures or a video of how I made it, but there are TONS of videos on YouTube on how to make just able any animal from fondant.
I am so proud of how this little guy turned out! This is my first fondant sculpture for a cake and I haven’t worked with clay in years. I surprised myself with how quickly the skills and techniques came back to me.


Fondant Colors
For this cake I wanted a light grey, pastel blue and a pastel yellow. I’ve struggled getting an exact color from dying my own fondant but I couldn’t find exactly what I was looking for in store either. I bought a large amount of white fondant and a small container of black, navy and yellow. I then made my own colors by kneading the fondants together. Just like with paint, you always want to add the darker color in small amounts to the lighter color to get the desired result. For example: for the grey fondant, I took a larger amount of white and added small grape size pieces of black to the white until I get to the grey I wanted. I repeated this process for the blue and yellow as well.
Here’s a quick step by step view of how I made the pastel blue.
Bottom Tier
Working from dark to light the bottom tier of this cake was covered in grey fondant. I purchased an elephant cookie cutter from Party City for $3 to cut the elephants for the bottom tier of this cake. I did an alternating pattern of yellow and blue elephants around the tier, leaving about two and a half inches in the front to put Legend’s name. Using a small circle cutter I cut circles to use as the detail in the ears. I then pressed the circles with my thumb to elongate them into ovals and then trimmed a small circle edge off of one side.


I used the same fondant slip recipe I used with the topper to stick the elephant ears on and then apply them to the bottom tier.
Second Tier
The second tier of this cake was covered in the pastel blue fondant. I then used a Wilton round piping tip to cut tiny dots of fondant out of the grey and yellow fondants. Scattering the dots around on the second tier in a random order gives it a fun, playful look. I then piped a then line of yellow butter cream and the base of the second tier to cover the fondant seam.
Top Tier
I wanted the top tier of this cake to be very simple so that the elephant on top was the key feature of this layer. This layer was covered in yellow fondant. Using a larger Wilton round piping tip, I cut dots out of the blue fondant. I then applied these dots side by side at the base of the tier to cover the fondant seam and create a cute little border.
Using two toothpicks inserted about half way into the center of the top tier, I then sat the fondant elephant on top of the cake. I did not fully secure the elephant to the top for easy removal when they were ready to cut into the cake.

Transporting the Cake
Since this cake came in at over 9 inches tall, it would not fit in the cake boxes I usually use. In this case I cut the top of the box off, placed the cake inside and then wrapped the box in plastic wrap.


Baby Shower Time
I am very pleased with how this cake turned out! It was such a fun and playful design! The parents loved the elephant topper so much they took it home to keep in the freezer!

Jamie I am so proud of you this elephant cake is adorable. You are so talented. Love you nanny
LikeLike
Thank you nanny!
LikeLike